Uploading files to a Cisco TAC case.
Have you ever needed to upload large (log)files from an appliance to a Cisco TAC?
Troubleshooting DNA-Center for example usually involves creating Root Cause Analysis (RCA) files which can be well over 1GB. After generating the files we have to copy them from the controller and either mail them to the case, or upload them via the webinterface with the Case File Uploader. Both of these options require additional steps of copying and transferring.
Customer eXperience Drive.
There is an easier way to upload the files directly from the controller using the Customer eXperience Drive (CXD).
The Customer eXperience Drive (CXD) is a multi-protocol file upload service with no limitation on the uploaded file size. It allows Cisco customers with active Service Requests (SRs) to upload data directly to a case using a unique set of credentials created per SR. The protocols supported by CXD are natively supported by Cisco products which allows for uploading directly from Cisco devices to SRs.
You will need the following things;
- Service Request Number
- CXD Token
To generate the CXD Token complete these steps:
Step 1 Log in to SCM.
Step 2 Open the case you would like to get the upload token for.
Step 3 Click the Attachments tab.
Step 4 Click Generate Token. Once the token is generated it will be displayed next to the Generate Token button.

Uploading files using CURL
Once we have the SR number (SR60000000) and the token (aaaabbbbccccdddd) we can use that to upload directly from a controller. We can transfer the file with our SR credentials to https://cxd.cisco.com/home/ and the file will be automatically added to the case.
CURL without a proxy:
- curl -T “[path/to/file]/[file]” -u 60000000:aaaabbbbccccdddd https://cxd.cisco.com/home/
CURL with a proxy:
- curl -T “[path/to/file]/[file]” -x http://[proxy:8080] -u 60000000:aaaabbbbccccdddd https://cxd.cisco.com/home/
Sample Python Code to use the PUT API
Note that the following code assumes the file is stored in the same path you are running it from.
import requests
from requests.auth import HTTPBasicAuth
url = 'https://cxd.cisco.com/home/'
username = 'SR Number'
password = 'Upload Token'
auth = HTTPBasicAuth(username, password)
filename = 'showtech.txt'
f = open(filename, 'rb')
r = requests.put(url + filename, f, auth=auth, verify=False)
r.close()
f.close()
if r.status_code == 201:
    print("File Uploaded Successfully")
Enjoy your no limit uploads!


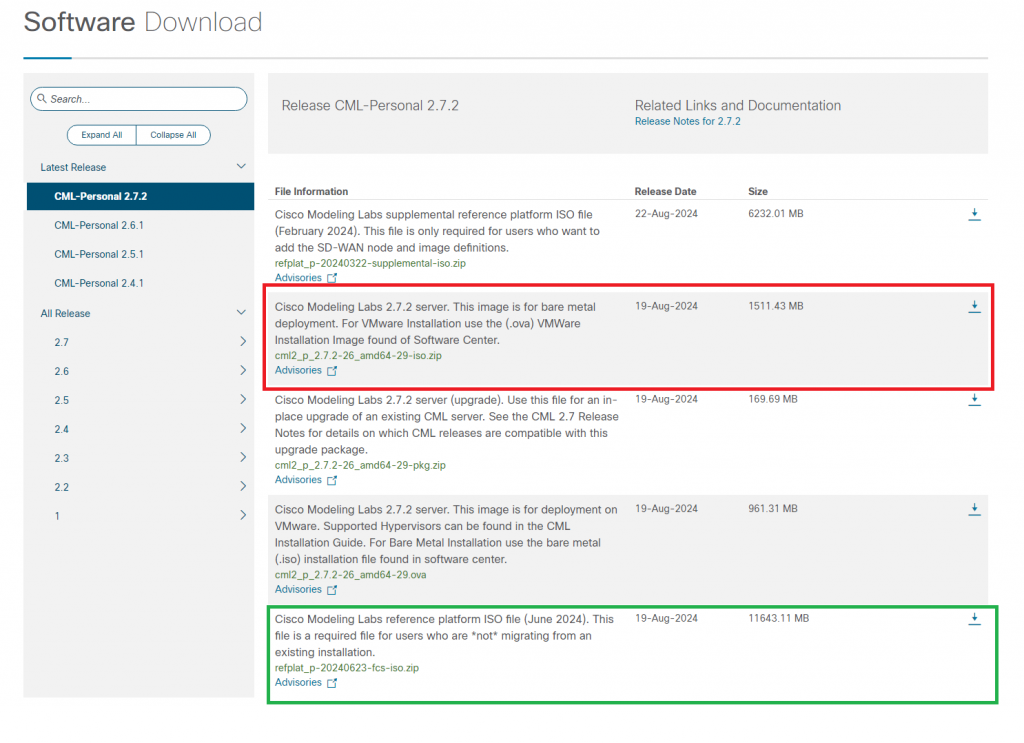
 Last weekend I decided to try Cisco’s Modeling Labs (CML). This is Cisco’s network virtualization platform comparable to GNS3 or EVE-NG. It replaced an older Cisco product called VIRL (Virtual Internet Routing Lab), offering more features and improved performance.


